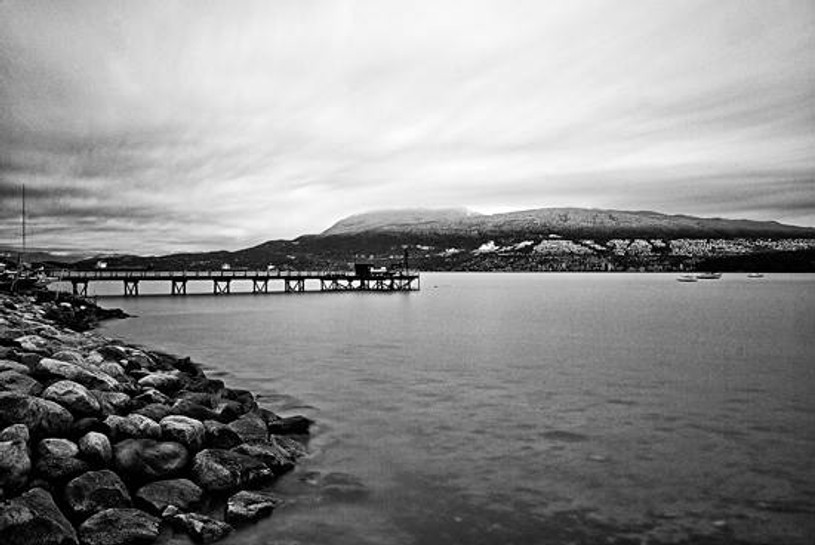
Continuing with our theme of taking better photos on bright sunny days, an incredibly useful and multi-purpose accessory is a Neutral Density Filter or ND filter for short. A neutral density filter is simply put a darkened piece of glass that comes in a variety of strengths and formats that allows you to reduce the overall amount of light entering the lens. There are many scenarios where using an ND filter is advantageous, a few of these situations are outlined below.
Slowing Down Your Shutter Speed: We’ve all seen those photographs of oceans, rivers, and other bodies of water where the water is smooth and flowing or almost looks like fog. If you have found yourself wondering, “How do they do that?” the answer is simple; the photographer used an ND filter. By putting an ND filter in front of their lens the photographer has reduced the amount of light entering the lens and is able to use a longer shutter speed which gives that smoky water effect. By using different strength ND filters you can control more of the effect and the outcome of the photograph. You could make a list of numerous scenarios where you would want to slow the shutter speed down in bright daylight to get a slow shutter speed effect, and an ND filter will help you achieve that.
Shooting Wide Open Around Bright Light Sources: It’s great to have lenses with a nice wide aperture like an F1.4 or F2.8, but when you are outside on a bright sunny day it can be difficult to get your aperture wide open. Another situation you may encounter is when working with studio lighting. The strobes you are using may not be able to go to a low enough power setting to let you shoot wide open. The easiest solution to this problem as you may have already guessed is to use an ND filter. By using an ND filter you can, in various strengths, reduce the amount of light entering the lens which will allow you to open up that aperture and get that shallow depth of field look that you were trying to achieve.
DSLR Video Uses: When using your digital SLR for filming videos, generally the rule of thumb for shutter speed and aperture is double your frame rate (I.E. if you are shooting 24 FPS your shutter speed will be 1/50th of a second) and shoot wide open. Similar to the previous scenario, on a bright sunny day it can become extremely difficult to shoot wide open and have a slower shutter speed so ND filters are very important and necessary for achieving that cinematic feel in all situations.
Types of ND Filters
You can gather that there are many types of ND filters available and every one is suitable for most situations. The most common types of ND filters are:
- Standard single strength – These filters come in a variety of sizes whether screw type or drop in and strengths (ND4, ND8 etc.) and will cover your basic ND needs.
- Graduated – These ND filters available in both square and screw on format; the square filters require a holder and can be used with multiple lenses. The graduated ND filters are darker at the top (or bottom depending which way you are holding the filter) and gradually gets lighter throughout the filter until it is clear. The most common use for this filter is to darken skies in photos or videos where the sky is much brighter than your foreground to avoid having a nicely exposed foreground and blown out sky.
- Variable – This type of ND filter has become more popular and more affordable in recent years. The variable ND filters have a ring on the front of the filter that adjusts the strength of the filter when it is turned. Filters come in different strength ranges but most common is eight stops (one stop to eight stops of light reduction) which will allow you to use one filter for many shooting situations and travel with a minimal amount of filters.
For more information and our selection of ND filters please visit: http://www.bccamera.com/neutral-density/


