

Digital photography and Photoshop have rendered many filters obsolete. Back when film was the only option rather than an artistic choice, white balance depended on the filter you had in front of the lens as well as your choice of film. Today, you would just adjust a few sliders in Lightroom or select a custom white balance in camera because we aren’t dealing chemistry and physics anymore, just ones and zeros and it’s just easier this way.
Many filters have been replaced entirely by Photoshop but some remain the better, more effective option. Circular polarizers, for example, are still a great option for getting bluer skies in your landscape photos because it takes a few seconds to pop on the filter rather than 10 minutes of fiddling with finely detailed clouds and it looks more natural than the digital alternative.
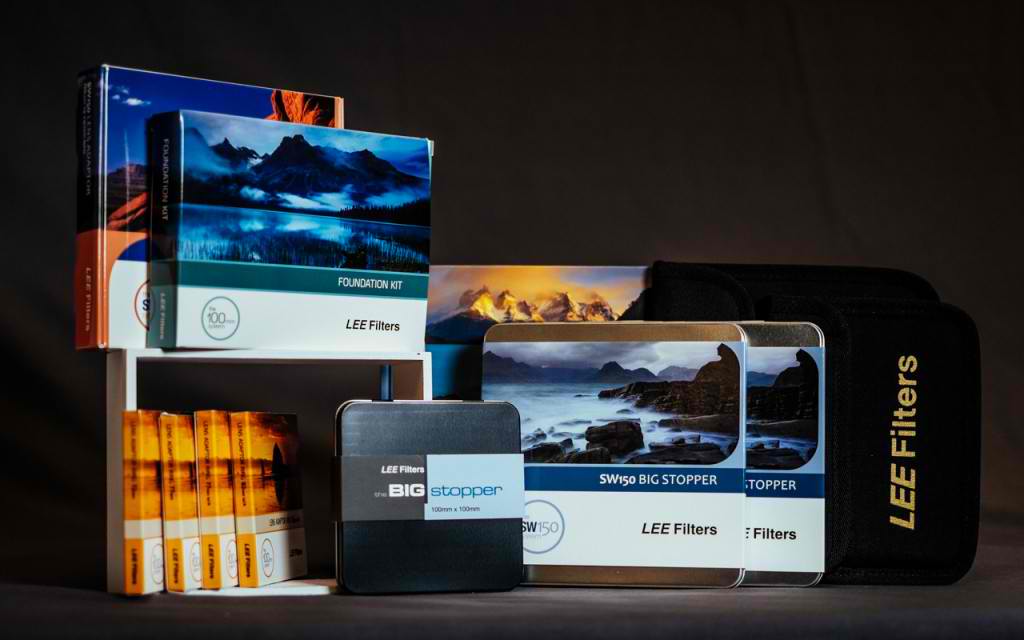
One type of filter that still has a lot of use even in 2015, however, is the neutral density filter like the Big Stopper from Lee Filters. Some cameras, like the Fujifilm X100T, even have ND filters built in. ND filters block some light from the camera so you can use longer exposure times and/or wider apertures. For example, if correct exposure on a sunny day is ISO 100 at F8 and 1/125s, a 10-stop ND filter would allow me to get the same overall exposure with a shutter speed of 8 seconds.
Why would you want to use a 8 second exposure rather than a 1/125 second one? Technically the same amount of light is hitting the sensor so the pictures should look similar but the difference is the passage of time. An 8-second photo is a larger slice of time so while action is frozen in a 1/125 second photo, there’s a lot more movement in the longer exposure.

For example, in this photo, which is a 10 second exposure, the beach house, the shore and mountains would look very similar compared to a 1/100 second exposure but look at the stretched out clouds and the water that’s disappeared into an ethereal fog. Longer exposures also tend to have deeper, richer more saturated colors, allowing you to pick up extra hues in the sky.
If HDR makes photos closer to what our human eyes actually see, then long exposures go beyond our own vision since we can only see one moment at a time. That’s why long exposures tend to look more dramatic and dream-like, since the photo experiences time differently than we do.
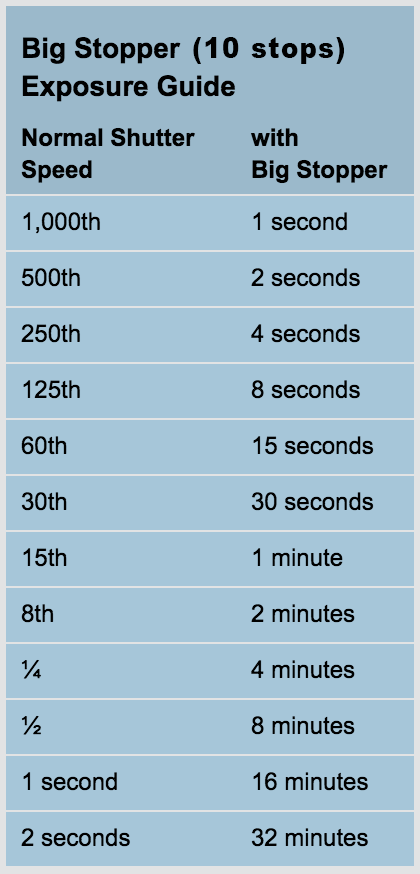
To determine how long your exposure will have to be to compensate for the ND filter, you’ll either need to do some math or find a handy chart/app that does it for you. Lee Filters has charts like the one above on the right for each filters on their website. Otherwise, it’s rather straight forward. You can compose and set up like you normally do, except you will almost definitely need a tripod.
To get exposures into the minutes, you’ll have to set your camera to bulb mode and time it yourself. To reduce camera shake during this time as much as possible, you might want to use a remote shutter release and set mirror lock up (if your camera has a mirror).
There’s no “correct” filter to use for long exposure photography. It’s just another tool in your belt, allowing you to take a picture that’s beyond the regular capabilities of your camera and depends entirely on the look you’re trying to achieve. Grab a neutral density filter, a tripod and see what sort of creative possibilities it opens up for you.