


Although camera lenses are wider than ever, there are still times when you can’t quite fit everything in the frame.

Photographers in the past have been limited by the physical size of film but today in the digital era, we have all sorts of handy tools to help us create ultra-wide panoramic images rather easily.
And by easy, I mean you could do it with just a single click. I remember in the early days of digital photography, the software required to stitch a panorama together was either complicated and expensive or cheap and useless. Adobe has now had the function built into Photoshop for years and recently added it to Lightroom as well.
Equipment
Shooting panoramas is quite easy if you’re prepared. I don’t have any super fancy specialized panoramic shooting gear, just some simple things that you’ll probably have anyways. You’ll need:
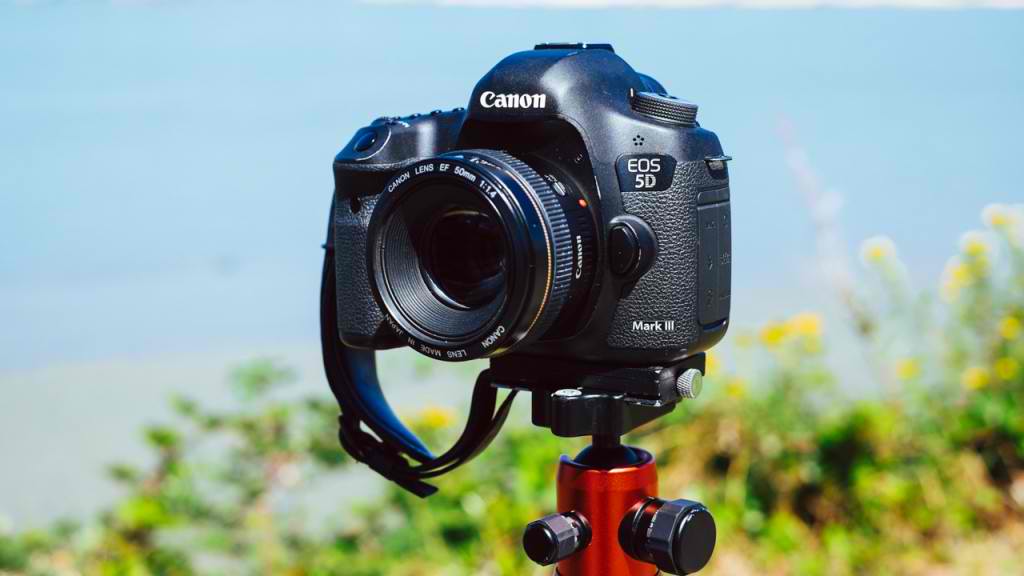
- camera and lens: I find that normal focal length lenses of around 40 to 55mm work best because they naturally have less distortion and vignetting that can sometimes either disrupt the stitching process or create blotchy areas. You absolutely can do this with any lens. You could use a fisheye or a 70-200 if you want to but keep in mind you may have to put in a little more work processing the images before stitching them together for the best results.
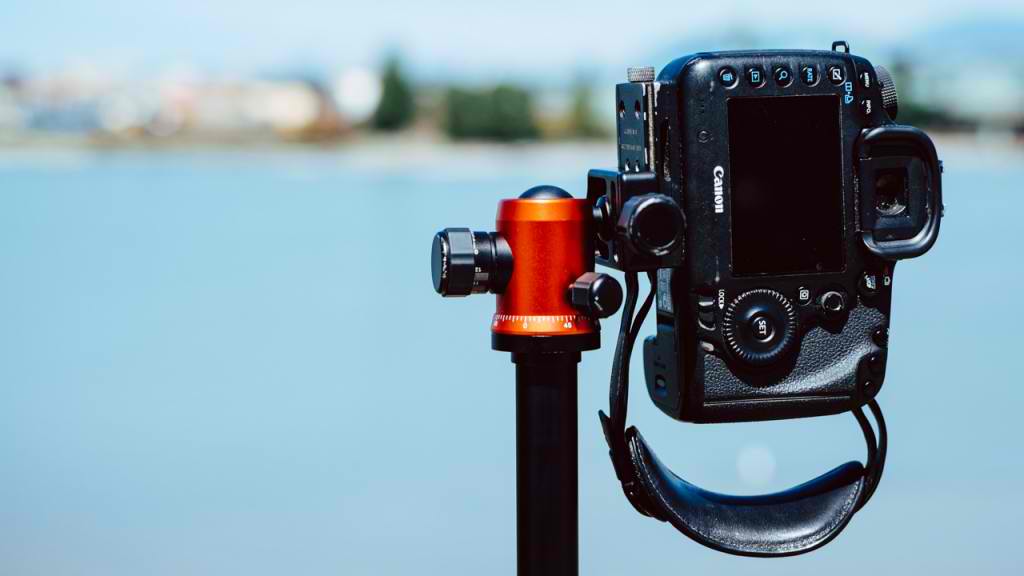
- tripod: If you have rock steady hands or are in a bright environment, you can hand hold your camera but for the best results, you’ll want to use a tripod to keep everything even and properly aligned. It’s much easier to get all your shots if you don’t have to worry about keeping the camera from shaking. Optional: a remote trigger is useful for reducing camera shake.
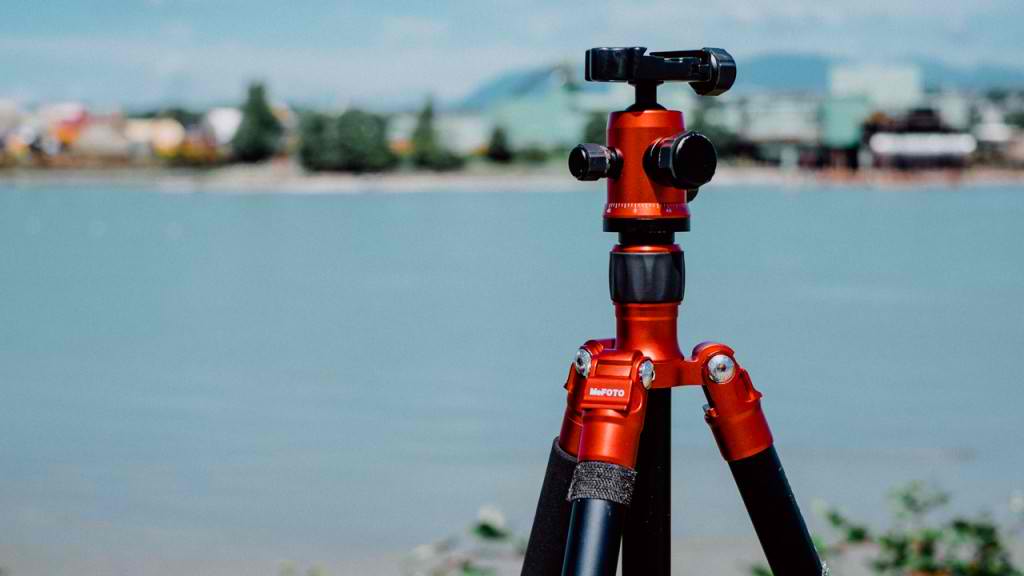
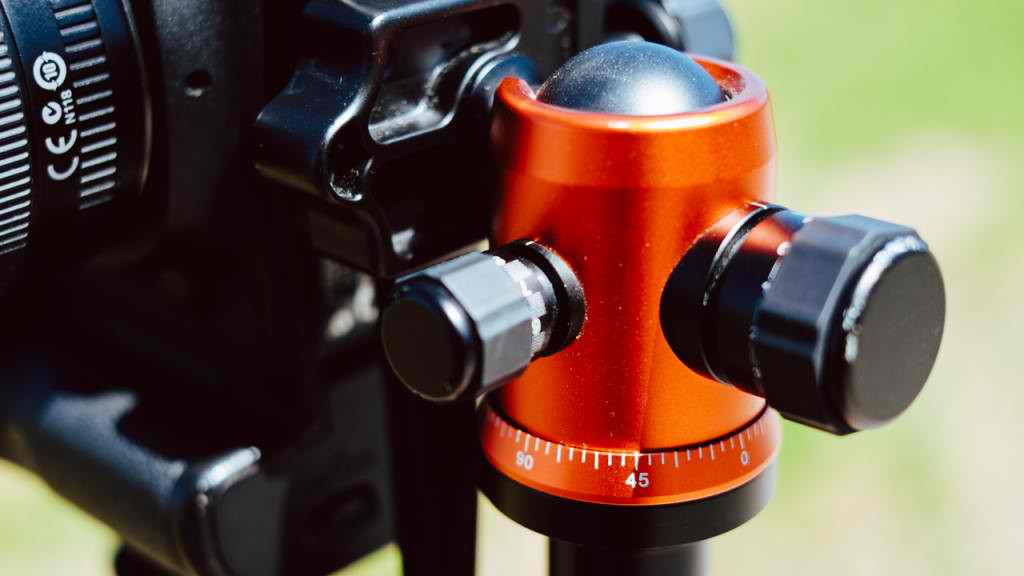
- panning tripod head or panning base: You’ll want something where you can lock down the camera in every direction but the horizontal axis. I use a ball head that has a panning base built in. Most tripod heads will be capable of this but some will be better than others. There are special panoramic tripod heads available that let you rotate the camera at the entrance point of the lens, which reduces parallax error, but you can get good results with any tripod head that lets you pan the camera.
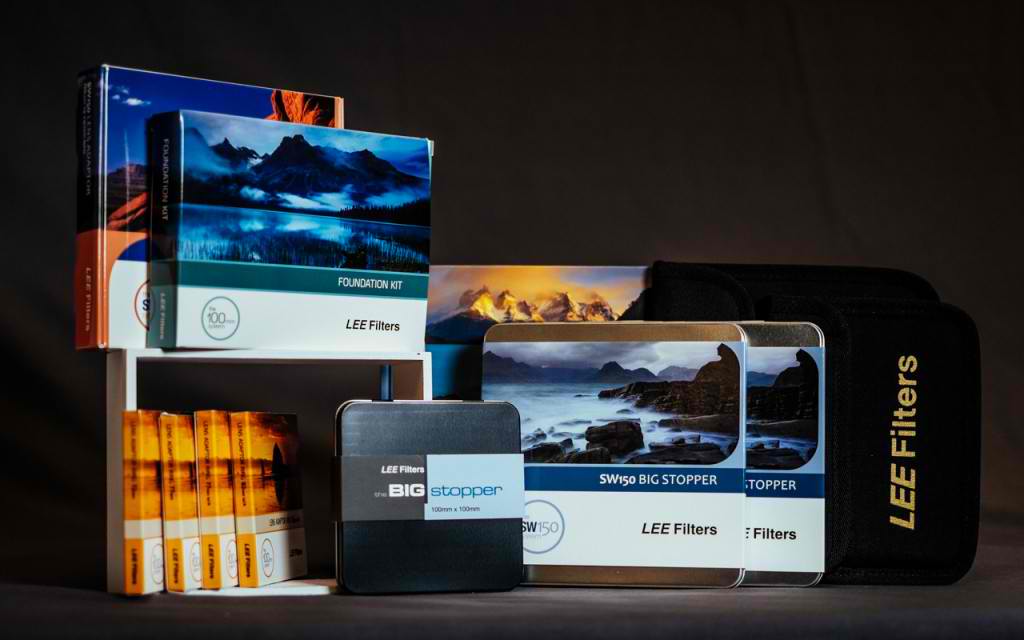
- optional: ND and polarizing filters: You don’t have to limit yourself to landscapes but the most common use of panoramic photography is to fit more of Mother Nature in the picture so you might find these filters useful. Check out our last photo tips post for more on shooting with neutral density filters.
Shooting
- Level your tripod: Making sure the horizon is straight and level in each on of the pictures you’re going to stitch is essential. A crooked horizon in a single picture may be easy to correct in Lightroom. If all your pictures are crooked, the software will have a tougher time putting it together and the perspective might not look natural.
- Shoot portrait/vertical: Technically it’s just fine to shoot landscape/horizontal but you’re going to be stitching these images together so you might as well get as much in it as possible.
- Set your white balance: So you’ve shot all your image, stitched them and…why is there a weird color change across the frame? This is probably because the automatic white balance setting is changing in each shot. If you shoot RAW, this can be corrected when you’re developing but getting it right in camera is even easier.
- Set aperture, shutter speed and ISO manually: Same idea as white balance. If your settings change between pictures, Adobe might have a tough time stitching them together and even if the software is able to, you might not get the best results. Each part of the panorama has a different “correct” exposure but you aren’t looking for correct, you’re looking for consistent so it looks like you took one extra wide photo rather than 10 and put them together.
Set your aperture, shutter speed and ISO while framing the most important element of the pano and leave it there.
- Use manual focus: If many of the elements in your photo are far away, then most likely your camera is focusing to infinity anyways but why take the chance that the focus will be different in every frame? There are many ways to set your focus here. You could pick the most important element of the shot and make sure it’s in focus or you could set a small aperture on your lens and set it to hyperfocal distance. This is a creative choice but either way, you’ll want to have your camera in manual focus so it isn’t refocusing between each shot.
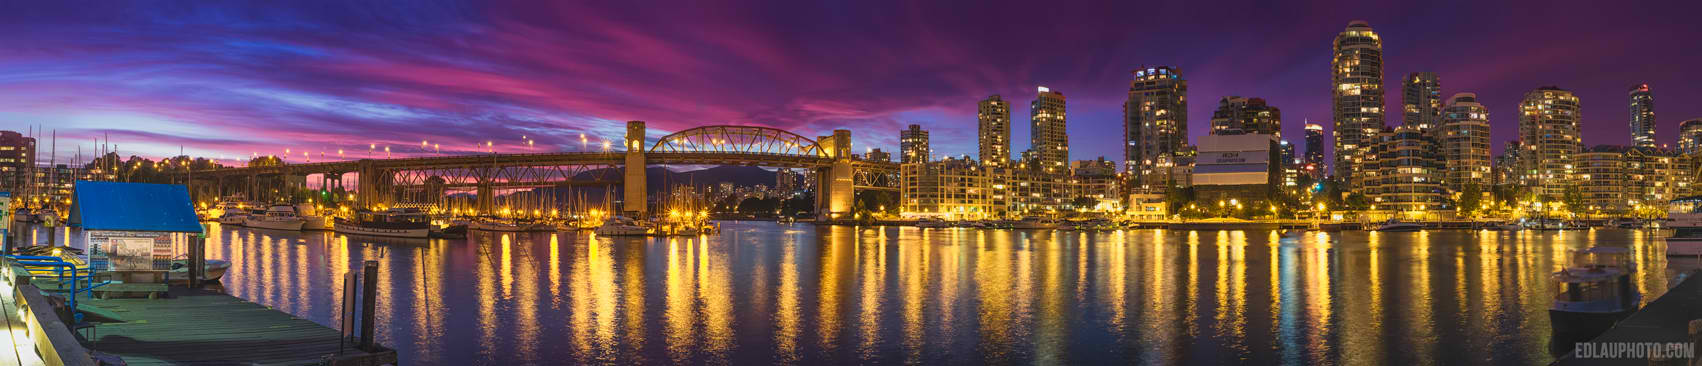
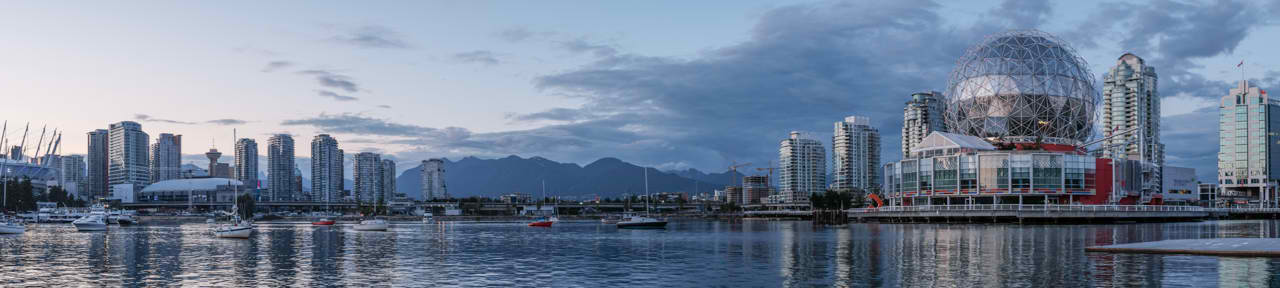
- Overlap your pictures: Shooting panoramas is relatively simple. All you have to do is start on one side and pan your camera to the other as you shoot. Ideally, to make sure the software has enough to determine where the images merge, try to overlap each one by at least 1/3. Personally, I overlap a little more on important elements and try to get at least one shot with the entire element in it (such as Science World and BC Place up above.)


Note: many modern cameras will have a built-in panorama mode and they usually work great. However, they do have limitations. For example, see this test shot I took of the same scene as one of the panorama’s above but before sunset.
First, they rely on the camera’s burst mode and buffer, so there are obvious size limitations. I couldn’t fit the entire scene into the space my Fujifilm X-T1 allowed for in their panorama mode but there are no limits on how many shots you can stitch together yourself in post.

Also, because it requires you to move the camera while its shooting, you might not get the clearest, sharpest results using this method.
Editing

If you’ve gotten to this point, then you’ve already finished all the hard parts. Putting the images together is now easier than ever and everyone’s preferences will be a little different. Ever since Adobe added Photo Merge to Lightroom, that’s what I’ve been doing since I shoot in RAW rather than JPEG. Lightroom merges the frames into one large DNG file, which allows you to make further RAW edits.
After a few tweaks to get the white balance, shadows and highlights the way I want, I export the file to Photoshop for further editing. This is where I remove dust spots (if you shoot at a small aperture, dust spots on your sensor are more likely to be visible), adjust contrast and color, and add a bit of sharpness.

In Photoshop, you click File -> Automate -> Photomerge, select your files and follow the instructions from there.
So grab your camera and make your own panoramic masterpiece. Once you understand how Adobe does Photo Merge, you can use this technique to make all kinds of photos that weren’t possible with just a single frame.