
E-Commerce has changed the retail landscape in a lot of ways over the last decade. One place it has seen a boom is in giving the ability to create, sell, or market products on a much smaller and manageable level for the average person. Whether it is selling vintage bottle caps in an online auction or showcasing jewelry you make by hand to sell online. If you can take good quality photos of your merchandise, it helps showcase your products more effectively and professionally. Below are some tips you can use to take better photos of products with relative ease without using a translucent lightbox.
Keep your background simple and clean, seamless backdrop paper is a great product to use to help create a clean look to your photos, not only is it easy to store but if an area gets soiled, simply cut of the section that is dirty and roll out more. I would recommend using a neutral colour like white or grey to make sure there are no colour reflections altering the colours of the item you are photographing. The easiest way to set up a roll of paper is on a background support set like the Giottos LCB03-1 Background Support Set, it is fully adjustable to use with small or large backdrops.
Clean lighting will make a big difference in your product photos. If you have flashes, continuous lighting, or Speedlites place one on either side of the product at an equal distance/angle (see below) with ample diffusion. This will help create even and consistent lighting on your product. If you do not have any photographic lighting equipment, place your camera on a tripod and try to set up your backdrop in an area with as much even light as possible. When you take the photo, change the exposure compensation on your camera to the neighbourhood of -1. This will tell the camera to overexpose the image by 1 stop which will brighten your photo, making your background appear brighter and the product better illuminated. The amount of exposure compensation you need to use may vary depending on your lighting, but play around with it until it looks right.

Reflections can take away from a product instantly. When we see an image of a shiny object with a reflection, we find ourselves fixating more on what is in the reflection than the product in the photo. Grab a piece of white paper (whatever size your have or need) and simply hold it in front of the object (having your camera on a tripod will help free up your hands) where the reflections are occurring without blocking the light as much as possible. Play with the angle of the paper to make sure the entire reflection is covered and instead of a distraction it will be a white highlight on your product.
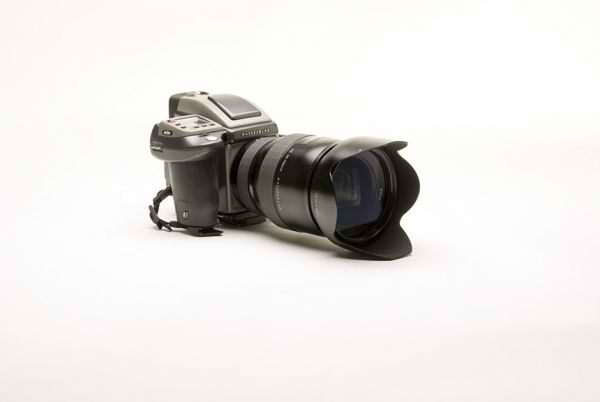
When photographing your products, making sure there is a slight shadow underneath the product will help ground the item so it won’t look like it is floating in a sea of white. This will help create a more natural look to the photograph and will also help Illustrate the scale of the item.
Hopefully these tips will help you take better product photos whether it is on your kitchen table or in your home studio. Get creative with your set up and practice, the more you try, the more you will learn and often it is from the photos that do not turn out that we learn from the most.